
Table of Contents
ToggleIntroduction
In the current generation, technology is going through profound changes; we see a lot of upgraded versions in the technology; thus, the software has also been changing since then.
The automation testing in the webdriver has also been upgraded, not only in delivering the prospect but also in utilising the enhanced scaling tests. Due to this upgradation, many organisations and applications have reached the next level in the market.
As the software changes, there are also significant changes in Selenium. The upgraded selenium versions include Selenium Grid, Selenium IDE, Selenium Remote Control, and Selenium Webdriver.
From the creation of the test case through its execution, automation testing can take a while.
This is incredibly challenging because tests need to be run on a wide range of browser versions, operating systems, and devices.
Selenium Grid, a Selenium component that offers concurrent test execution, makes this easier.
Let us look into the detailed version of the Selenium Grid Tutorial: Hub& Node with an example in this article.
What is Selenium?

An automation testing tool that works based on a framework named JavaScript is called Selenium. QAs strongly prefer automated Selenium testing for simulating end-user actions on websites to track their behaviour.
As the target web page’s operations are under its control, and it has the power to carry them out automatically without requiring user interaction.
An open-source programme called Selenium automates web browsers. It offers a single interface that enables you to create test scripts in several different programming languages, including Ruby, Java, NodeJS, PHP, Perl, Python, and C#.
It controls the activities on the target web page and can execute them autonomously without requiring user input.
There are four components of the Selenium suite; they are
Selenium Grid.
Selenium Remote Control.
Selenium Web Driver.
Selenium IDE(Integrated Development Environment).
Let us now look into Selenium Grid in detail.
What is Selenium Grid?

A Selenium Grid testing tool enables us to run tests on several computers using various browsers.
It is a component of the Selenium Suite, which specialises in executing several tests on various machines, operating systems, and browsers.
To run scripts concurrently, Selenium Grid is a tool that distributes the tests across numerous physical or virtual machines (simultaneously).
Giving us promptly and accurate input significantly speeds up testing across platforms and browsers.
With Selenium Remote, you can connect to it by choosing the desired operating system, browser, and version. These values are specified using Selenium Remote’s capabilities.
Cross-browser testing is made simple with Selenium Grid since a single test can be run simultaneously on numerous computers and browsers, making it simple to compare and evaluate the results.
To set up a selenium Grid all you need to know is how to set up the Selenium Grid.
✅ The first is to install the latest version of Selenium Grid.
✅ Next is to start a Hub.
✅ Next is to start a Node.
✅ The fourth step is to configure the nodes.
✅ The last and final step is to run the test using Selenium Grid.
In Selenium architecture, there are two types of architecture: Hub and Node.
Let us look into Hub and Node in detail.
What is Hub?
Hub is a server that takes access requests from the WebDriver client and passes them on to the remote discs on nodes.
The client provides the instruction directly, and parallel nodes are used to carry it out.
Due to its crucial position in Selenium Grid, the Hub is also called the “Master of the network.”
Hub will search the Grid for a machine that satisfies the requirements to run the test. Hub generates an error if there isn’t a match.
It is vital to remember that a grid should only have one Hub.
These basic details concerning a Selenium Grid hub should be understood.
What is Node?

Node has both a native operating system and a remote webdriver and acts as a remote device.
It receives queries from the Hub as JSON test commands and executes them using WebDriver.
The device connected to the Hub is referred to as a node. Selenium Grid can include several nodes. The host computers used to execute the tests are referred to as Nodes.
The Hub may launch one or more Nodes on either a remote machine or the same machine as the Hub itself.
It is not necessary for the machines powering the nodes to run on the same platform as the Hub.
Now, you have a clear idea of how Hub and Node work.
To know more about Why the Selenium Grid is used? Read the article for a detailed explanation.
Where and why is Selenium Grid used?
Selenium has become one of the most well-liked technologies for automating web applications. Numerous organisations, including Google, Apple, Amazon, and many others, regularly utilise Selenium and have even offered assistance for the programme.
Due to the ongoing contributions from the initial Selenium contributors, Selenium has been able to keep up with the demands of testing contemporary web applications.
By constructing a simple infrastructure of many browsers running on various operating systems with Selenium Grid, you can deal with a variety of browsers and spread out the test load.
The Selenium Grid has a lot of applications. Several of them are listed here.
When we want to run our tests on a variety of browsers, including browsers running various operating systems and several browser versions.
Concurrent testing is used to speed up the time it takes the test suite to complete a test pass.
Architecture and webdriver flow:
Using the remote webdriver and a normal webdriver is both the same. The vital process in the remote web driver is to confirm whether the test runs on a separate machine.
There are two pieces in the remote webdriver: the server and the client.
A developer of test scripts can utilise the RemoteWebDriver implementation class to run their test scripts on a remote machine through the RemoteWebDriver server.
RemoteWebDriver consists of a server (Hub) and a client (node)
The RemoteWebDriverserver is a component that watches for requests from a RemoteWebDriver on a specific port.
It sends the requests to any of the following after receiving them: Whichever is requested: Firefox Driver, IE Driver, or Chrome Driver.
The client libraries that act as a RemoteWebDriver are language-binding. The client, just as it did while running tests locally, converts the requests from your test script into JSON payload and transmits them via the JSON wire protocol to the RemoteWebDriverserver.
When the execution is completed locally, the web client library directly assists with your IE Driver, Chrome, and Firefox driver.
Whereas when the execution is tested remotely, the webdriver assists with the remote web driver server and the server assists with
Steps to set up Selenium Grid:

Here are step by step process by which individuals can install Selenium Grid, By the end of this tutorial one can clearly explain about the Hub and Node in detail.
Here are 5 steps, read carefully.
Step 1:
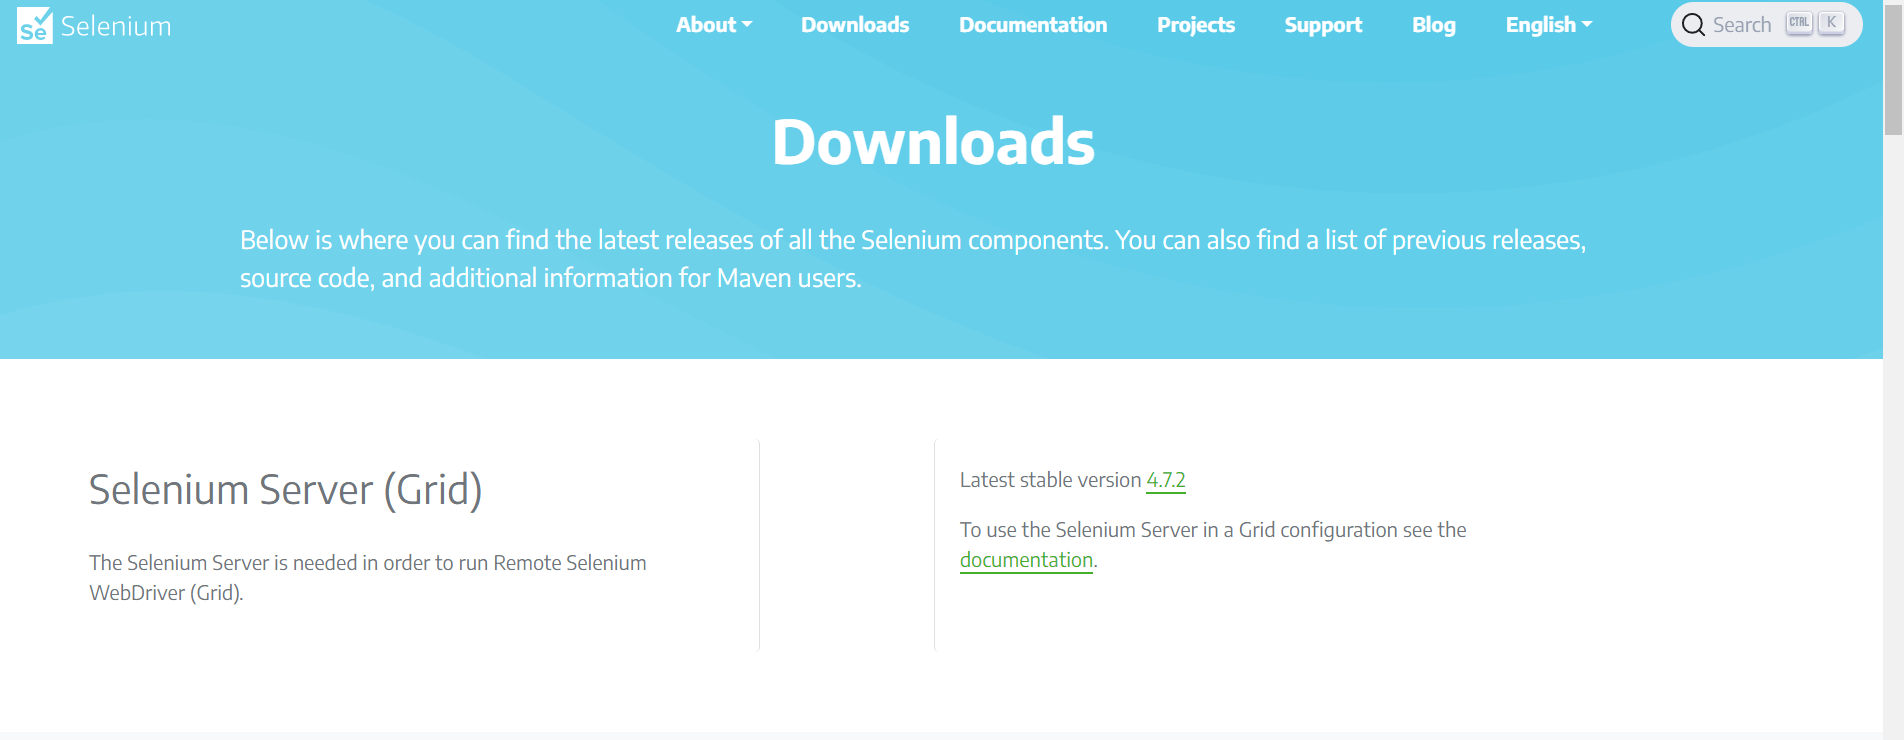
The first step is downloading the Selenium server and setting up the Selenium Grid.
To download the Selenium Grid, have a look at this website.
https://www.selenium.dev/downloads/ and download. Ensure to download the latest version.

Step 2:
The Selenium Server.jar file can be put anywhere on your hard disk. Place it on the C drive of Machines A and B for this tutorial’s duration.
You have now successfully installed Selenium Grid. The Hub and the node will be launched in the subsequent steps.
Step 3:
Launch a hub. To launch a hub, make use of machine A. Then, to find the directory where the Selenium Server is located, go to the root of Machine A’s C drive using the command prompt.
Type java -jar selenium-server-standalone-2.30.0.jar -role hub in the command section.
If the process is being completed correctly, then right now, the Hub will be launched.
Step 4:

A search engine is another method to check if the Hub is functioning. By default, selenium Grid’s web interface connects to Machine A using port 4444.
Now visit, http://localhost:4444/grid/console
By opening a search engine there and navigating towards where “iporhostnameofmachineA” should be the IP address or the hostname of the machine where the Hub is running, you can also see if Computer B can reach the Hub’s web-based interface.
Since Machine A’s Internet protocol is 192.168.1.3, you should enter
http://192.168.1.3:4444/grid/console in Machine B’s browsers.
Now that the Hub is operational, we will launch a node. Open a command prompt on Machine B by going there.
Enter the code below after navigating to Drive C’s root. Because the Hub is running at 192.168.1.3, we utilised that address.
Although you can select any free port number of your choice, we also utilised port 5566.
Step 5
After this process, press the below-listed code.

Once you enter the code, data appears wherein it is listed as status – info/ done at the end.
You can now verify the process by ensuring the status of the code.
Step 6

Refresh the selenium grid web interface page to test remotely on Machine B.
To run the Grid further, design the test scripts.
The designing scripts is based on two possibilities, which are
Remote WebDriver: Determines the node (or machine) our test will run on.
Desired Capabilities: Determines the type of browser and operating system that will be used for automation.
For the remote web driver, you must import
Import java.net.MalformedURLException;
Import java.net.URL;
Import org. openqa. selenium. remote. RemoteWebDriver;
For Desired Capabilities, you must import
Import org. openqa. selenium. remote.DesiredCapabilities;
Remote web driver:

Pass the DesiredCapabilities object we created below as a parameter for the RemoteWebDriver object after importing the required RemoteWebDriver packages.
WebDriver driver;
driver = new RemoteWebDriver(
new (IP ADRESS AND PORT ON MACHINE “B”), capability);
Desired Capabilities:
Navigate to the web browser for the Grid and hover your cursor over a picture of the browser you wish to control. Note the platform and browser name that is displayed in the tooltip.
The platform in this instance is “XP,” and the browser’s name is “Firefox.”
As demonstrated below, we will use the platform and the browser name in our WebDriver.
capability.setBrowserName(“firefox”);
capability.setPlatform(“WINDOWS”);
capability.setVersion(“4”);
Now it’s time to run a sample test grid.
The testing team can connect the Grid to conduct tests once the Selenium Grid setup is complete by completing the four steps above.
The testing team can utilise the Default Selenium object and pass it in the hub construction using the” code if Selenium 1 RC nodes are being used.
The desired capabilities and the remote web driver plays a vital role in the Selenium Grid.
Here are the six steps to set up the Selenium Grid using Hub and the Node.
Conclusion

The only way to test different browsers or any version of a browser is by setting up the Selenium Grid.
By utilising Selenium Grid, you can rapidly access 3000+ genuine browsers and devices from different versions, manufacturers, and operating systems.
Selenium Grid is useful in desktop computers, IOS, and Android gadgets. Since you can test under actual user settings, it is easier to quickly discover and fix the more challenging task.
As a result, testing results are more reliable.
By the end of this article, we hope you got a clear idea of how to set up Selenium Grid.